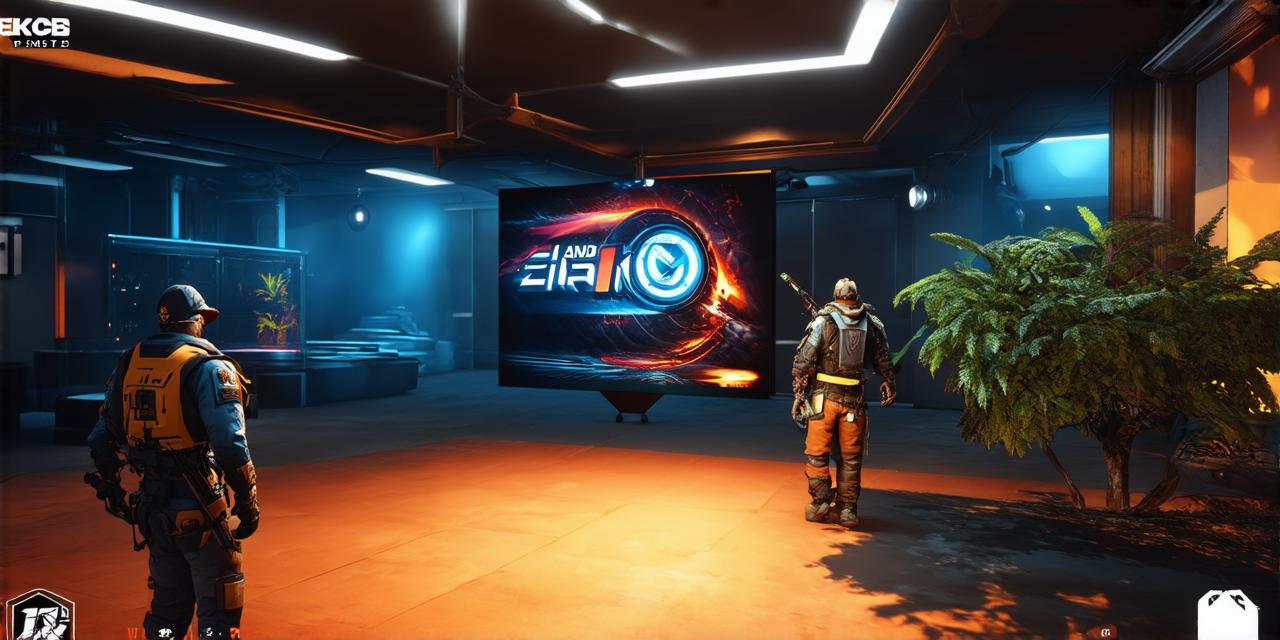
Are you a beginner looking to create your own games? Look no further than Unreal Engine! In this article, we will walk you through the process of setting up and using this powerful game development tool. By following these steps, you’ll be creating games in minutes!
Getting Started with Unreal Engine
Before we dive into how to use Unreal Engine, let’s first talk about what it is. Unreal Engine is a 3D creation engine used for building video games, virtual reality experiences, and more. It was created by Epic Games in 1998 and has since become one of the most popular game development tools on the market.
To get started with Unreal Engine, you’ll need to download it from the official website. Once you have installed the software, you can open it up and start creating your first game.
Creating a New Project in Unreal Engine
Once you’ve opened Unreal Engine, you’ll want to create a new project. To do this, go to File > New > Project. In the window that appears, you will be able to choose the type of project you want to create. For beginners, we recommend starting with a 2D game or a virtual reality experience.
After selecting the project type, you’ll need to name your project and choose where you want to save it on your computer. Once you’ve done that, click “Create Project” and you’ll be taken to the main Unreal Engine editor.
Setting Up Your Game World
Now that you have a new project open in Unreal Engine, it’s time to start setting up your game world. The first thing you’ll want to do is add some terrain to your scene. To do this, go to the Content Browser (which you can access by clicking on the “Content Browser” button in the toolbar) and drag a “Terrain” asset onto your scene.
Once you have added the terrain, you can start adjusting its appearance by going to the “Details Panel” (which you can access by clicking on the “Details Panel” button in the toolbar). Here, you’ll be able to change the height, slope, and other properties of your terrain.
Adding Objects to Your Game World
Now that you have a basic terrain set up, it’s time to start adding objects to your game world. To do this, go back to the Content Browser and drag an object onto your scene. There are many different types of objects you can add to your game world, including characters, vehicles, and buildings.
Once you have added an object to your scene, you can start adjusting its appearance by going to the “Details Panel”. Here, you’ll be able to change the texture, scale, and other properties of the object.
Creating Your First Game Logic
Now that you have a basic game world set up, it’s time to start adding some logic to your game. To do this, you’ll need to create a new “Blueprint” (which is a visual scripting tool within Unreal Engine). You can access the Blueprint editor by right-clicking on an object in your scene and selecting “Create Blueprint” from the context menu.
In the Blueprint editor, you’ll be able to add logic to your game by dragging and dropping different nodes onto the canvas. There are many different types of nodes available, including ones for movement, collision detection, and more.
